Tags
What are Tags?
With Tags, you can set user defined attributes on your parts. Tags are very helpful for grouping and classifying parts. Some example applications:- Compliance risk management: indicate which parts are low, medium, and high risk by setting tags such as Risk=Low, Risk=Medium, Risk=High.
- Supplier metrics: tag parts with a supplier rating.
- Indicate which business unit a part belongs to.
- Division=BusinessUnit1, Division=BusinessUnit2
- SupplierRating5
- CommodityType=Packaging
Users can define an unlimited number of tags and have an unlimited number of tags on a single part.
Creating Tags
Step 1
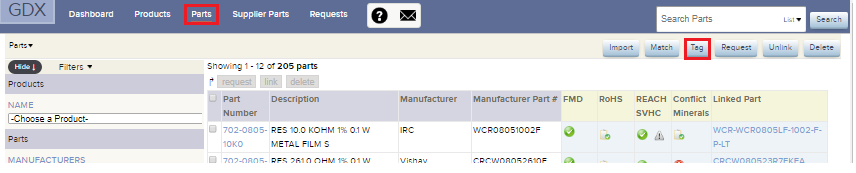
To Create tags or add parts to specific tags, click the top level Parts tab, then click Tag.
You are presented with a text box. Tags are created in bulk, by pasting information from a spreadsheet into the text box.
Step 2

Fill out the spreadsheet template with IPN, MFN, MPN and Tag in excel. Note that you must follow this column order.
Step 3
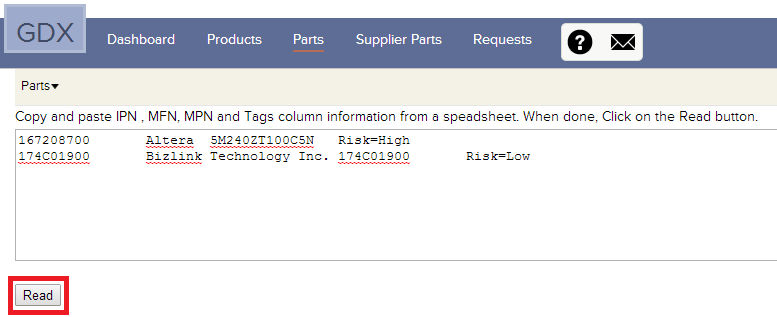
- Copy and paste the information into the textbox.
- Click Read
Step 4

- Check the box for each part to Tag.
- Click on Apply tags
Step 5

The Tags have now been assigned to these parts
Viewing and Filtering Tags
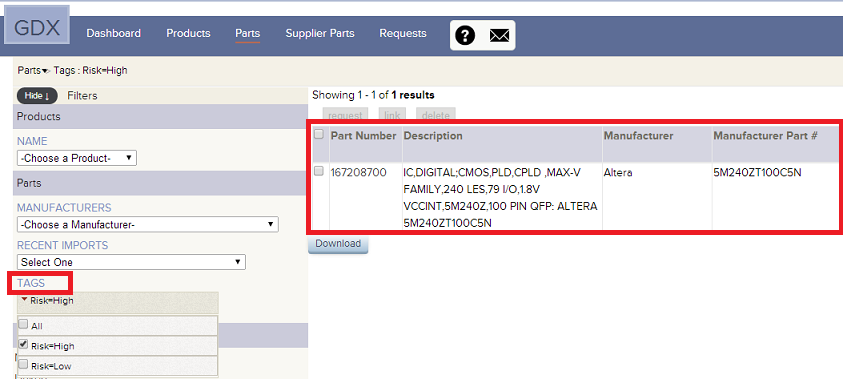
You can view parts based on their Tag settings. To view your tags, click on TAGS on parts page and select the tag you want to view.
Manage Tags
The tags can be applied at the product level.
Step 1
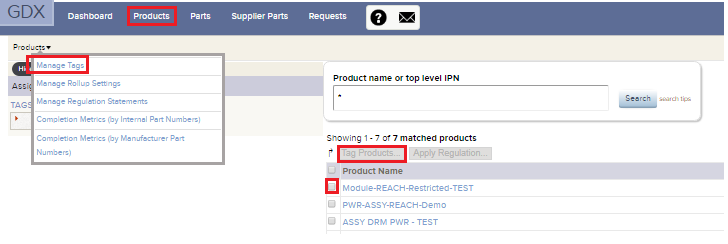
Click on Products and the Products dropdown menu and chose Manage Tags
To tag a product or to create a new tag to the product, click on any product listed.
The screen will prompt to select a tag from the existing list or to create a new one.
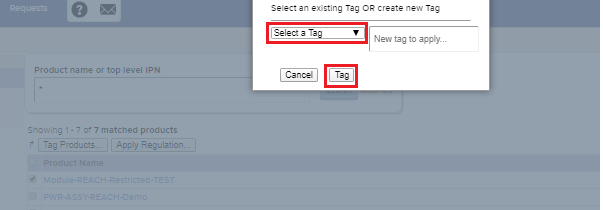
Once done, click Tag
Step 2
To delete tags or remove tags applied to specific products

- Click
 to delete tags
 - Click on a specific Tag
- Select product name
- Click on Remove Tag