Managing Part Families
See also the Video Tutorial Managing Family Series Parts 
What is a Part Family?
GDX supports the creation of part families, in which declaration data is shared across all parts within the family. All part members of a family share RoHS, REACH, and material disclosure data. Each part member can have a different part number, description, and part weight. Family part management speeds part creation, makes it easier to maintain your declarations, and reduces duplicate document attachments.
Family series parts are common in many industries, including electronic components. For electronic components, this includes resistors, capacitors, inductors, diodes, and integrated circuits. Family series declarations are commonly associated with their package type, in which a given package has one material declaration (same weight, materials, substance amounts).
For example, a semiconductor company with 5,000 part numbers spanning 8 different package types can potentially complete a declaration in GDX with only 8 base part declarations. Assigning of the family member parts to their respective family member can be performed online or with an import file.
When to use a part Family in GDX
Each family member inherits the compliance information from a Base Part. The Base Part contains the root declaration information for the family. A family should be created if a group of parts share the same declaration information, esp. material declaration.
How to Create a Family
Step 1
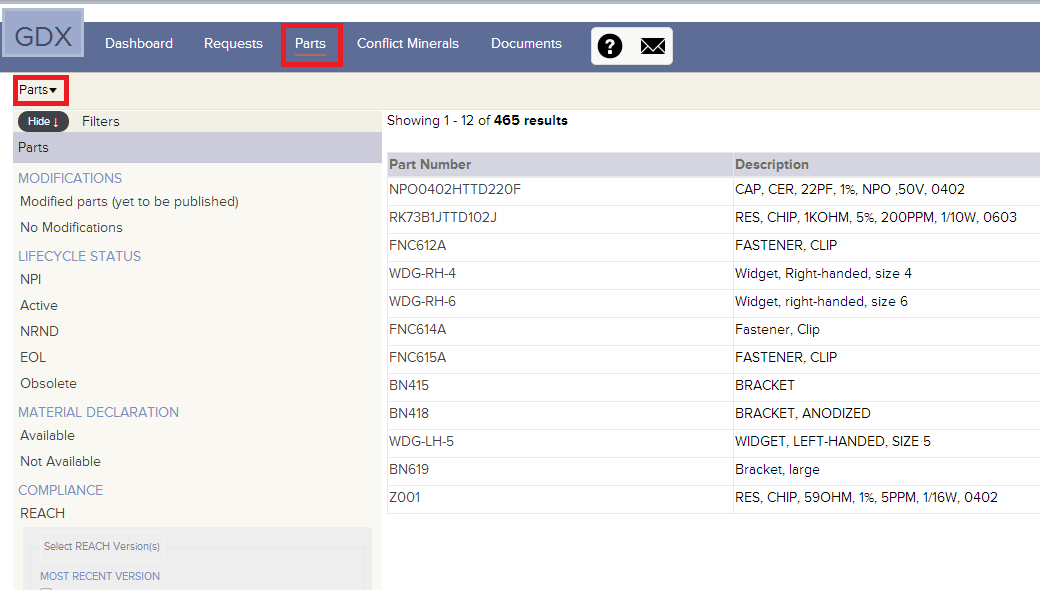
- Go to the Family Series view:
- Click the top level Parts tab.
- Choose the Parts dropdown (menu with arrow on the left).
- Choose Family Series. This is the Family Series view and shows a list of all your existing families.
Step 2
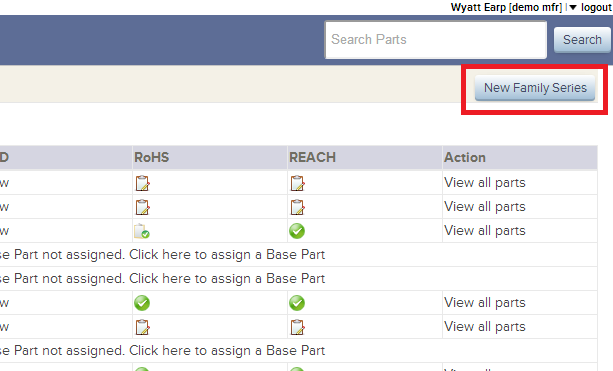
- Click New Family Series on the top right of the page
Step 3
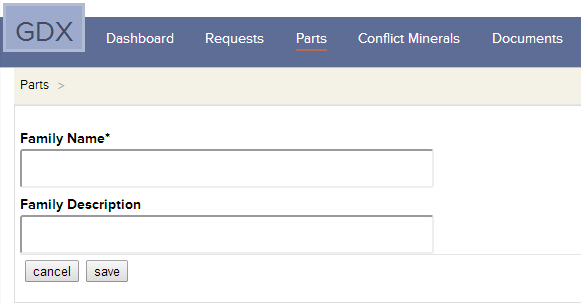
- Enter the Family Name. The Family Series name must be unique and should represent the type of family. For example, if your compliance data is associated with the package type, you may want to name it something like "SOT23" or "0201xDxxxxxTxx".
- Enter the Family Description. The description should explain the applicability of the Family series and the details to identify the parts belonging to the family.
For Example, If the Family Name is given as 0201xDxxxxxTxx, its description may be Applicable for all 0201 X7R Series RoHS Compliant Capacitors - Click Save.
Step 4
Create the Base Part for the Family:
Note that the Base Part must be created after the Family.
If your family member parts have different total part weights, then you must create the material declaration for family members using the percentage weight declaration, so that the appropriate weight proportion is assigned to each family member. If your family members all have the same total part weight, you can create the material declaration for family members using any method you prefer.
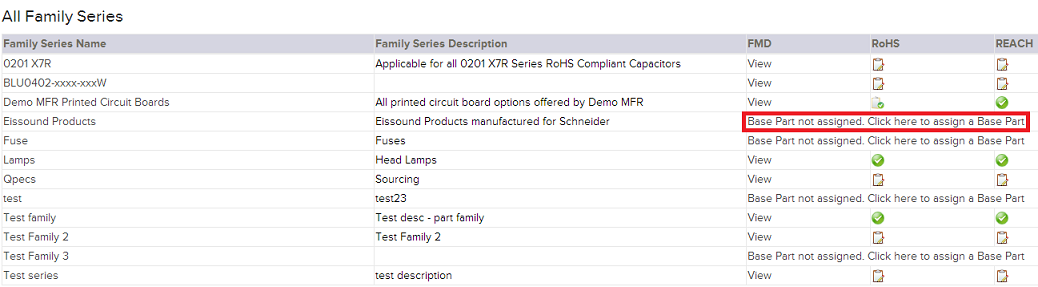
- Create the base part as described in Creating a Part. When prompted, make sure you assign this part as a member of the family.
- From the Family Series view, choose the Family you created, and click the link Base Part not assigned. Click here to assign a Base Part.
Step 5
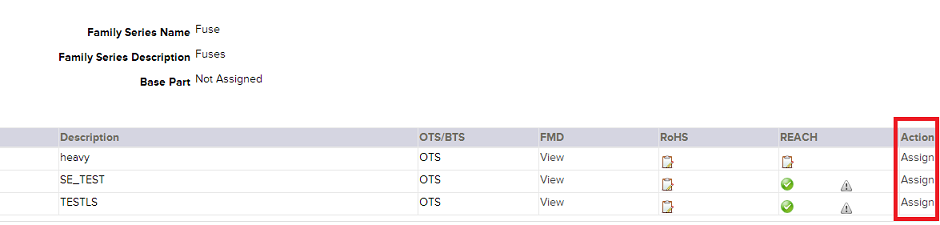
- Assign this part as the Base Part by clicking the Assign tab.
Adding Additional Member Parts to a Family
Step 1
Additional Family members only require the part number, description, and optional part weight. All other information is inherited from the Base Part.
- Download the MPN_FamilySeries_Import_Template
- Create the import template. Enter the Family Series Name, MPN, and Description into the import template.
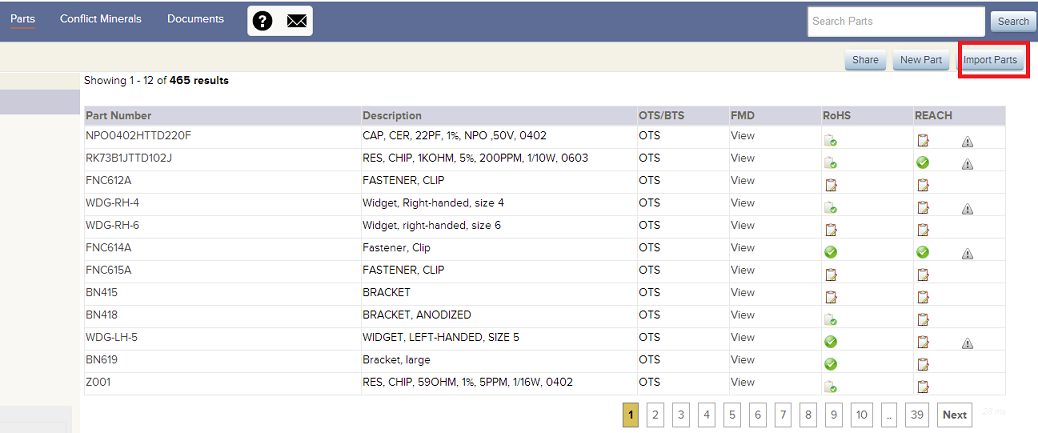
- In the Parts view, click Import.
Things to Note while creating Family Parts:
- The base part information is inherited by the member parts of the family.
- Family parts can be bulk published, however any update made in the member part will not be reflected as the base part information overrides. Changes can be made in base part.
Step 2
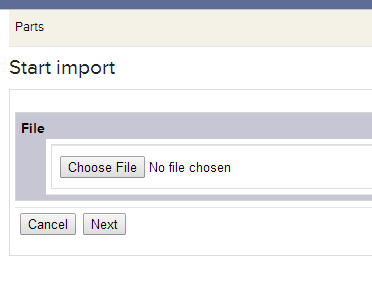
- Choose the import template. Click Upload. Then click Next
- Confirm the field/column mapping is correct, then click Next